FLEKS3D “SYSTEM”
for makerbot replicator 2 (orig)
read first
We recommend that you get to know your printer before starting to use the FLEKS3D. Each printer has its own quirks to work through. Knowing your printer prior to using our product will help you problem solve shall issues arise.

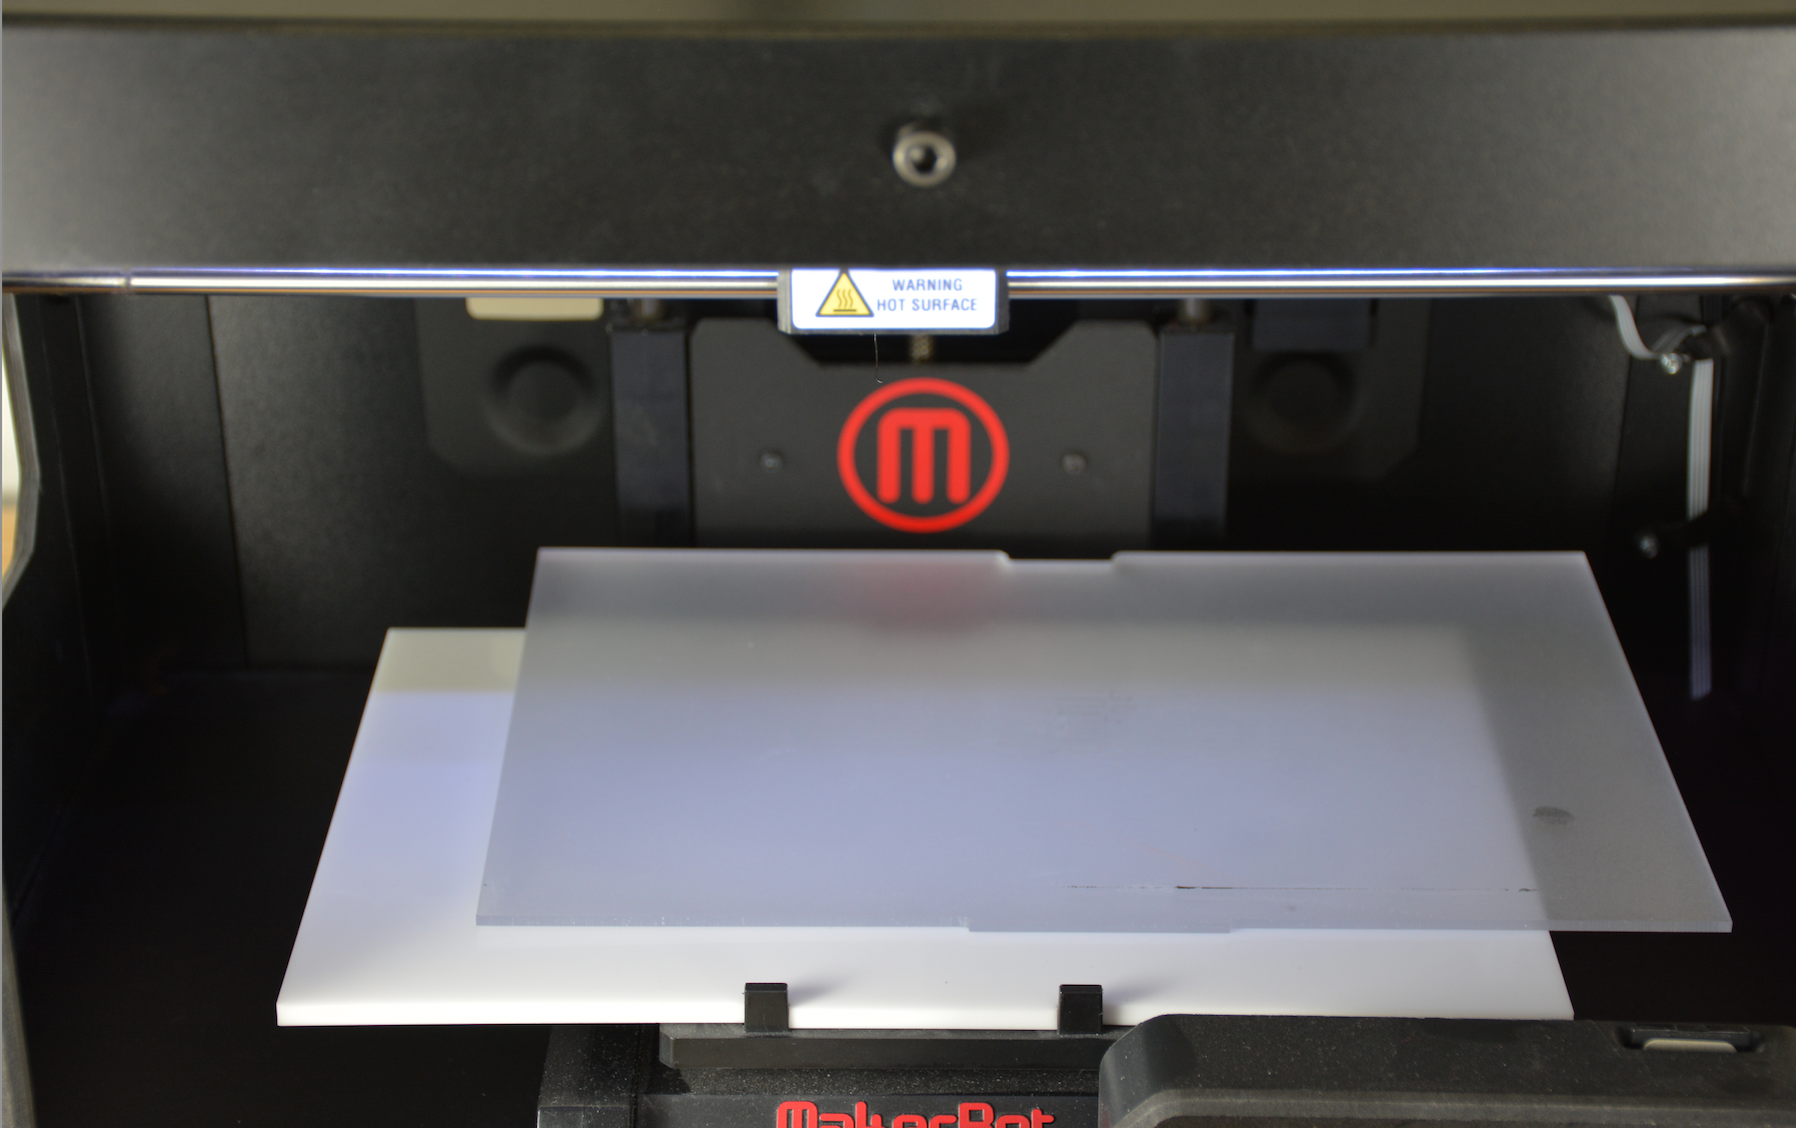
1 - Remove your current build plate and replace with our Base and Top Fleks3D Build-Plates.
2 - Level build-plate with the makerbot standard procedure. The printhead should have the same distance to the build-bed as with the standard makerbot build plate.
3 - Run print.
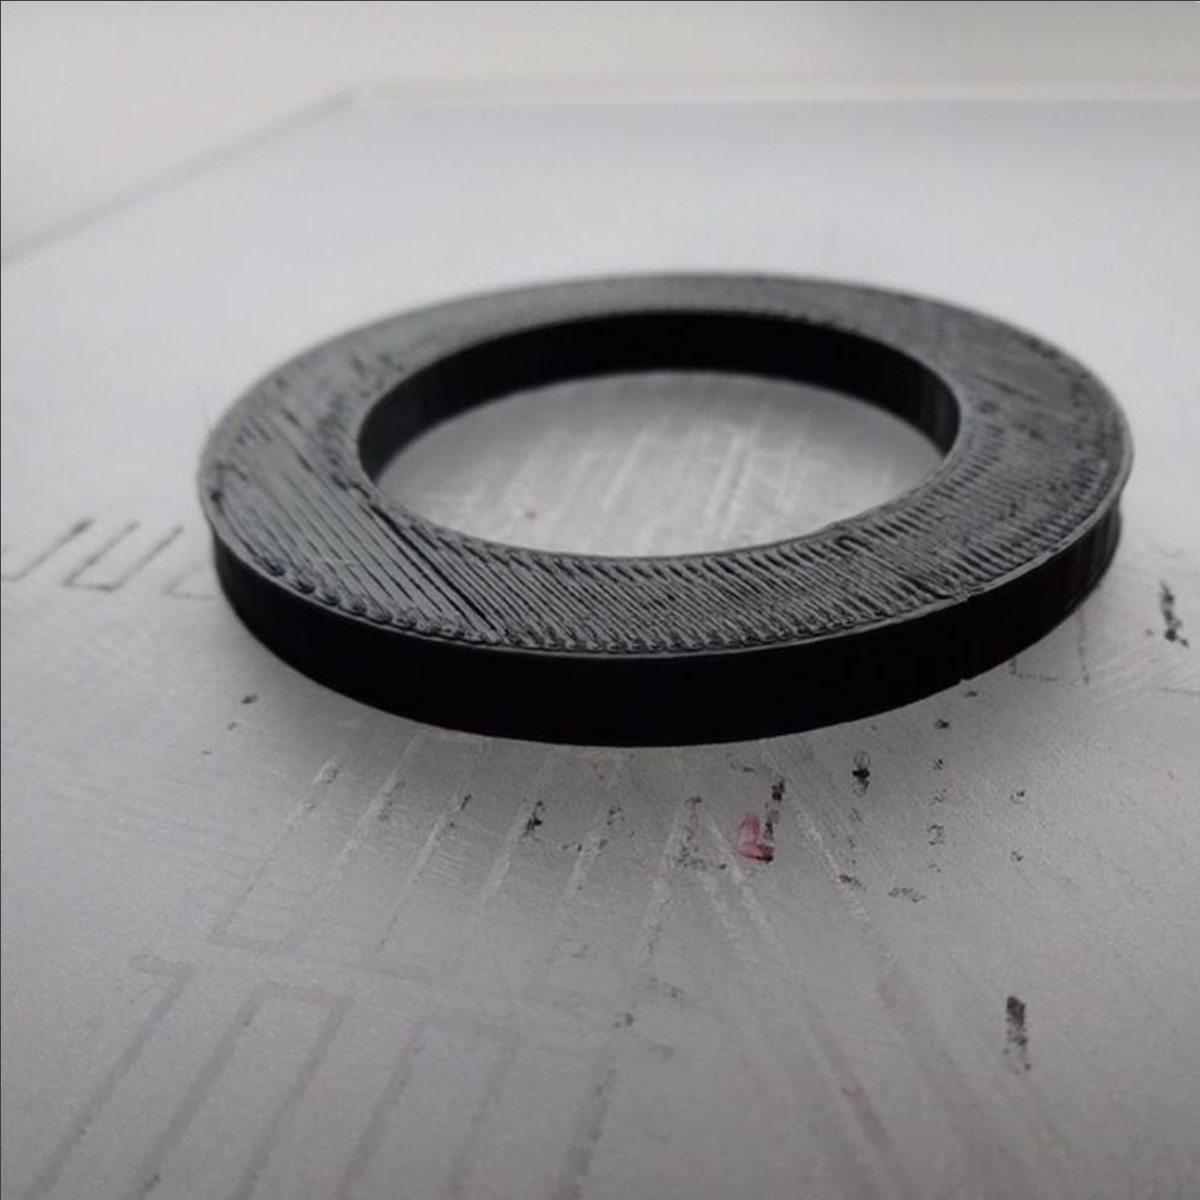
4 - After the print finish simply remove the TOP PLATE from the clips. Gently flex the plate to release the build. The build should come off as one piece, but if some support material remains on the board, we suggest removing it carefully with a straight razor.

FLEKS3D on rep 2.
heated beds
FLEKS3D can be used with up to 100 Celsius (212 f). For most part FLEKS3D enables the use of lower heat. Many times no heat. We recommend to start with no heat, then slightly increase it if necessary.

self levelling "pucK"
Add one layer of blue tape to puck. This is since the puck is slightly thinner then the plates. We are working on finding a new vendor for this with more exact dimensions.
Run your 3D Printer's standard self-leveling program.
Place the glass puck under the nozzle as it travels around the bed during set-up.
Once set-up is done, pause program and place FLEKS3D on build-bed.
Some printers do this set-up for every print. This isn’t necessary. Cancel this feature if possible.
our first prototype, going strong 2 years later...